一、安装Node.js
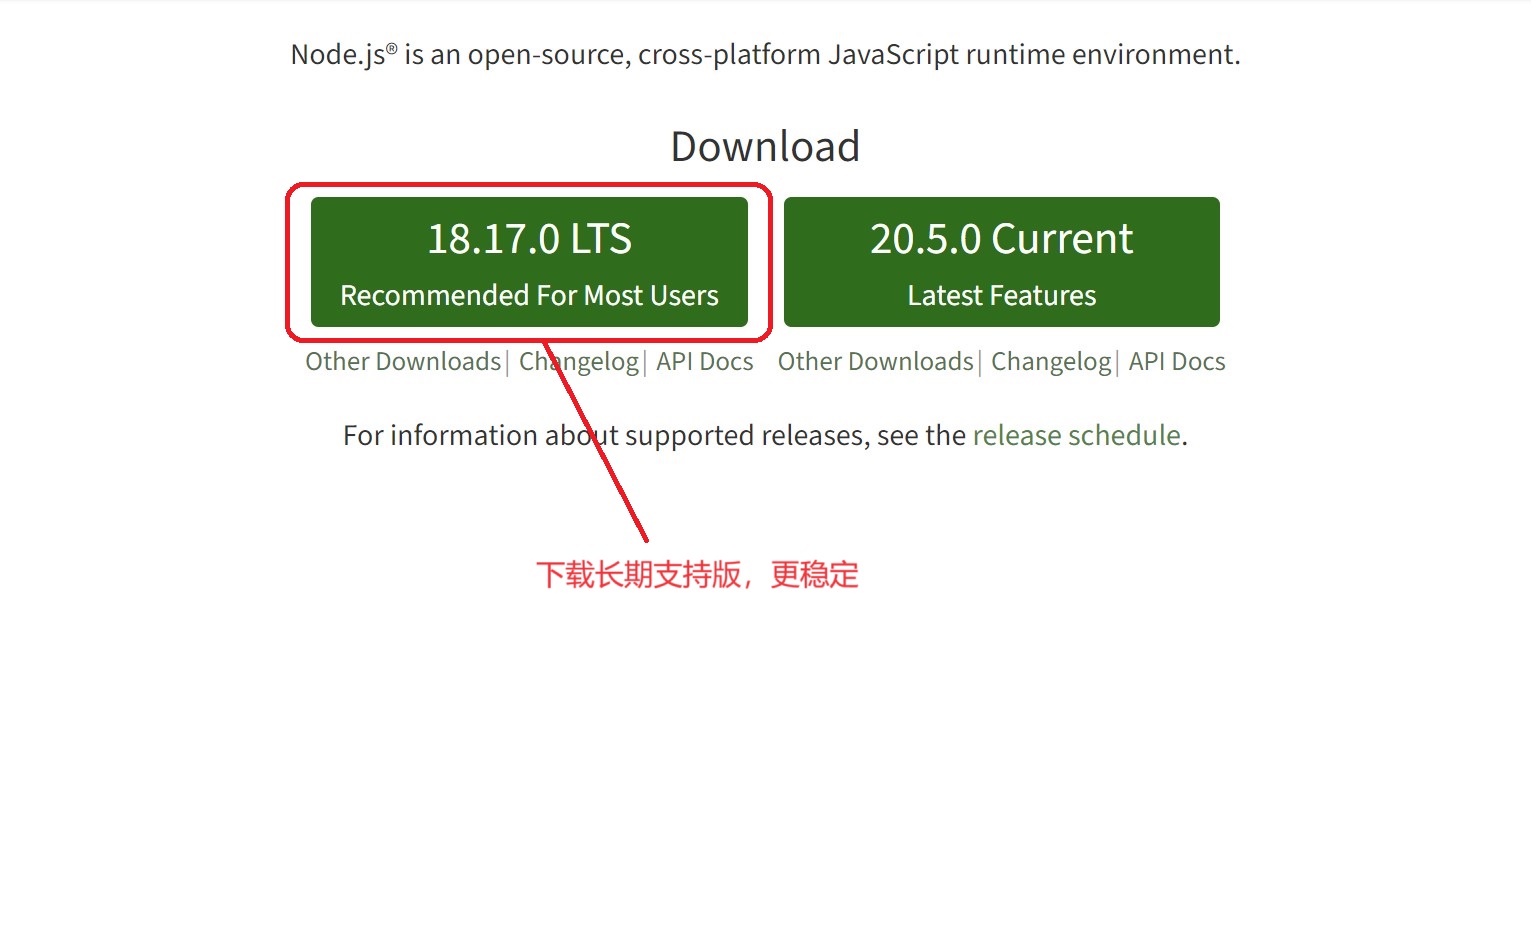
1.打开Node.js官网,点击下载”18.17.0 LTS”(长期支持版本)
2.运行安装程序,按照向导的默认设置一直”下一步”即可,安装完成后打开终端
二、初始化项目
Next.js全栈项目初始化通常涉及到前端和后端的设置,我们使用Express作为后端框架。
1.打开命令行窗口,创建项目
1
2
3
4
5
6
7
8
|
mkdir my_nextjs_fullstack_project
cd my_nextjs_fullstack_project
npm init -y
|
2.安装Next.js和Express
1
2
3
4
5
6
7
8
9
10
11
12
13
14
15
16
17
18
19
|
npm install next react react-dom express
mkdir pages
// pages/index.js
import React from 'react';
const Home = () => {
return (
<div>
<h1>Hello Next.js!</h1>
</div>
);
};
export default Home;
|
3.创建Express后端
1
2
3
4
5
6
7
8
9
10
11
12
13
14
15
16
17
18
19
20
21
|
// server.js
const express = require('express');
const next = require('next');
const dev = process.env.NODE_ENV !== 'production';
const app = next({ dev });
const handle = app.getRequestHandler();
app.prepare().then(() => {
const server = express();
server.get('*', (req, res) => {
return handle(req, res);
});
server.listen(3000, (err) => {
if (err) throw err;
console.log('> Ready on http://localhost:3000');
});
});
|
4.添加启动脚本
1
2
3
4
|
"scripts": {
"dev": "node server.js"
}
|
三、安装ESLint和Prettier
1.在项目根目录下执行终端命令,安装ESLint和Prettier
1
2
3
4
5
6
7
8
9
10
11
|
npm install --save-dev eslint prettier
npx eslint --init
npm install --save-dev eslint-plugin-react eslint-plugin-react-hooks
npm install --save-dev eslint-config-prettier eslint-plugin-prettier
|
2.配置文件:.eslintrc.js
1
2
3
4
5
6
7
8
9
10
11
12
13
14
15
16
17
18
19
| {
"extends": [
"next/core-web-vitals",
"eslint:recommended",
"plugin:prettier/recommended"
],
"env": {
"es2020":true,
"es6": true,
"node": true
},
"plugins": [
"prettier"
],
"rules": {
"prettier/prettier": "warn"
}
}
|
3.创建Prettier配置文件
1
2
3
4
5
6
7
8
9
10
11
12
13
14
15
16
17
18
19
20
|
module.exports = {
singleQuote: false,
printWidth: 100,
semi: true,
trailingComma: 'all',
arrowParens: 'always',
bracketSpacing: true,
useTabs: false,
tabWidth: 2,
proseWrap: 'always',
htmlWhitespaceSensitivity: 'css',
plugins: ['prettier-plugin-tailwindcss'],
};
|
四、安装Husky
1.在项目根目录下打开终端
1
2
|
npm install husky --save-dev
|
2.配置Git Hooks:package.json
1
2
3
4
5
6
| # 添加husky字段
"husky": {
"hooks": {
"pre-commit": "npm run lint:fix" # 同时运行ESLint和Prettier
}
}
|
3.添加npm脚本
1
2
3
4
5
| # 在scripts部分,添加脚本
"scripts": {
"lint": "eslint .",
"lint:fix": "npm run lint -- --fix"
}
|
五、安装Commitlint
1.在项目根目录下打开终端
1
2
|
npm install @commitlint/cli @commitlint/config-conventional husky --save-dev
|
2.Commitlint配置:commitlint.config.js
1
2
3
4
5
6
7
8
9
10
|
touch commitlint.config.js
code commitlint.config.js
module.exports = {
extends: ['@commitlint/config-conventional'],
};
|
3.配置Git Hooks(使用Husky):package.json
1
2
3
4
5
6
| # 添加husky字段
"husky": {
"hooks": {
"commit-msg": "commitlint -E HUSKY_GIT_PARAMS"
}
}
|